
Happy Day Nails designed by Bora, Posh! Nail Spa
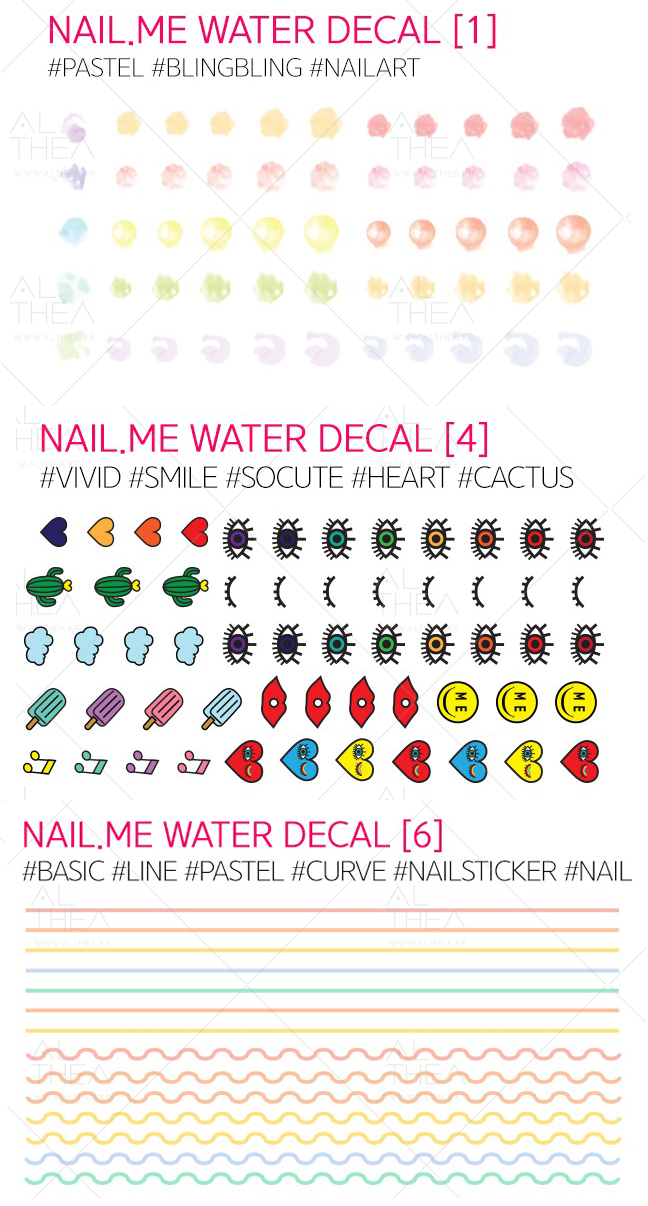
Got a case of the Monday Blues? Don’t worry, we’ve got this Happy Day nail tutorial to brighten up your day! These cute nails are simple to do yet catch a lot of attention thanks to the bold colours and designs. We paired up with Posh! Nail Spa and nail designer Bora came up with this cheery salon-ready look that you can get without leaving your front door. She used Half Moon Eyes’ Nail Me Water Decals in no. 1, no. 4 and no.6. Here’s a tutorial on how you can get these nails without leaving the comfort from your home:

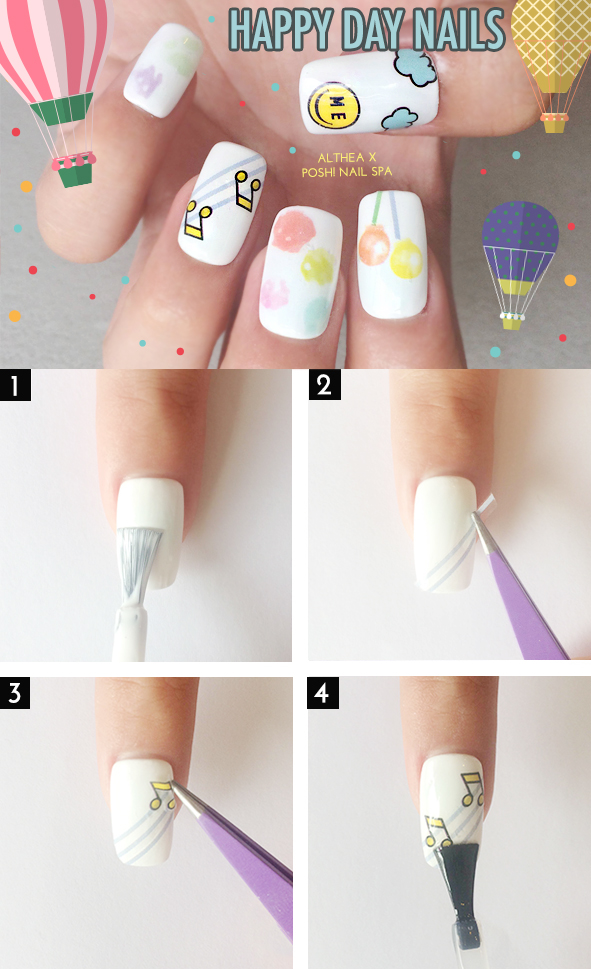
How-To Steps:
- Make sure your nail is free from any oil or dirt, then apply a layer of base coat. Follow up with 2 layers of base polish of your choice, and allow to dry between layers.
- Cut out the design you'd like to use and dip it into some water for about 10 seconds (we picked the stripes from set no.6 for this). With a gentle touch, slide the decal off the paper backing and carefully apply it to the spot of your choice with a pair of tweezers. Gently press it down onto the nail and let air dry or dry off lightly with a paper towel.
- You can choose to stop here or add more stickers and accessories to your nail look. In the example above, we've added some adorable designs from set no.1 and no.4 to give it an extra special touch.
- Once you are happy with the design you've created, apply a top coat to smooth out and seal in your artwork, keeping it lasting as long as it can. Allow to dry, and you are done!
How simple was that? We love how these nails turned out, and it's definitely perked up our week! These decals come in a variety of different designs too, so make sure you check them out here. Would you try these out? We'd love to see your creations with your favourite decals, so make sure you tag #AltheaKorea on Instagram to show us!


No comments
Thank you for leaving us a comment!